Why Do My Waffles Keep Sticking to the Waffle Maker?
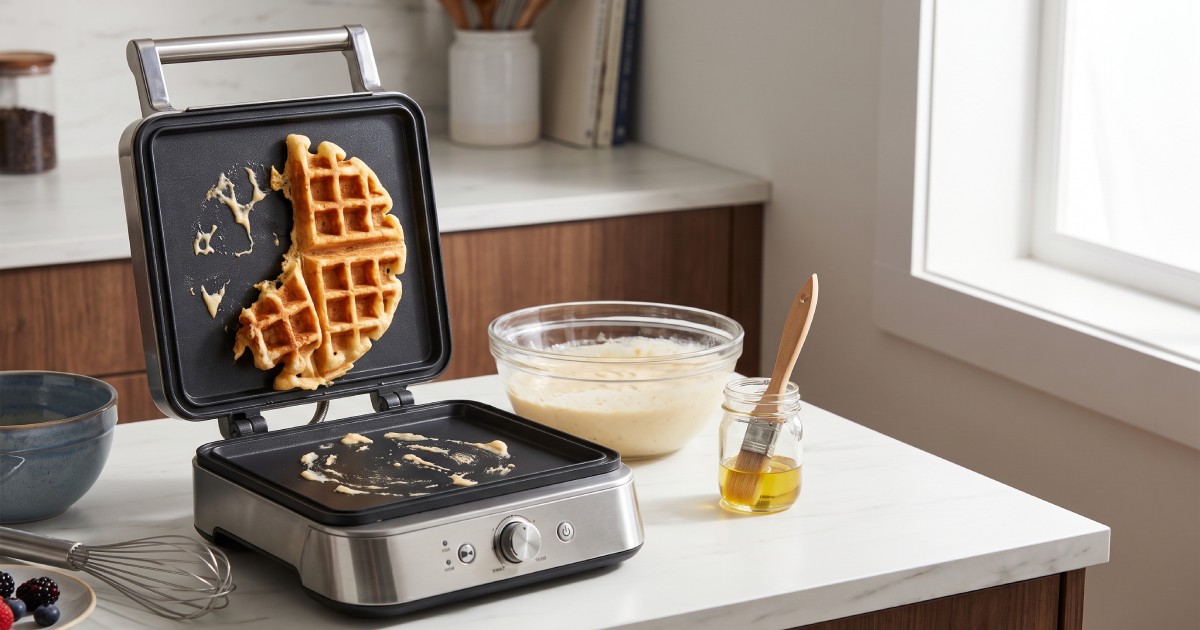
If you’ve ever pried a half-torn waffle off the iron with a fork while your family waits hungry at the table, you know the frustration. You seasoned it. You sprayed it. And yet, somehow, half your waffle is still glued to the plates.
The truth is, why do my waffles keep sticking to the waffle maker almost always comes down to one of five culprits: not enough fat in the batter, too much sugar, incorrect preheating, a worn-out non-stick coating, or opening the lid too early. After testing more than a dozen waffle irons over the years — from $25 basic models to $150 Belgian machines — I’ve seen every one of these problems firsthand, and they’re all fixable.
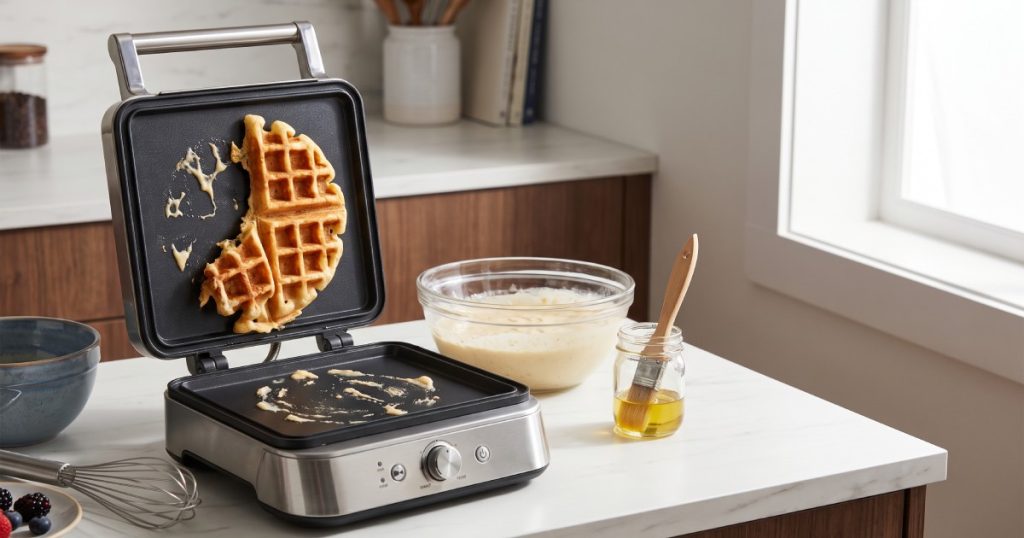
Let’s walk through exactly why it happens and how to stop it for good.
The Most Common Reasons Waffles Stick
1. Your Batter Doesn’t Have Enough Fat
Fat is what creates a barrier between the batter and the plates. If your recipe is light on butter or oil — or you’re using a “healthier” substitution — you’re removing the very thing that helps release the waffle cleanly.
Fix: Most standard waffle recipes need at least 2–4 tablespoons of melted butter or neutral oil per cup and a half of flour. If you’re modifying a recipe to cut fat, expect more sticking and compensate with extra greasing.
2. Too Much Sugar in the Recipe
Sugar caramelizes as it cooks, and caramelized sugar is sticky by nature. Recipes with a high sugar content — think dessert-style or Belgian waffles — are far more prone to sticking than a simple buttermilk batter.
This is also why why does my waffle maker keep sticking even when you’re following the same recipe you’ve used for years can sometimes trace back to a recipe tweak, like adding vanilla sugar or a sweeter mix-in.
3. You Didn’t Preheat Long Enough
This is the single most overlooked step. A cold or under-heated plate causes batter to seep into every micro-groove of the non-stick surface before it has a chance to form a seal. Once it’s in there, it bakes on and sticks.
Fix: Always wait for the indicator light (green light or “ready” beep) before adding batter — and on some cheaper models, wait an extra 60–90 seconds beyond that signal, since budget machines often under-report their true temperature.
4. Worn-Out or Damaged Non-Stick Coating
Non-stick coatings degrade with time, especially if you’ve ever used metal utensils, harsh scrubbers, or high heat cleaning sprays. Once the coating is scratched, batter grips onto the exposed metal underneath.
If your waffle maker is more than 2–3 years old and sticking has gotten progressively worse (not just occasionally, but why do my waffles keep sticking to the waffle maker all the time now), coating wear is likely your answer.
5. Opening the Lid Too Soon
Waffles need time to set and pull away from the plates naturally as steam escapes. If you open the lid the moment steam slows down, the waffle is often still soft on the surface and will tear.
Fix: Rely on your machine’s ready indicator, not steam alone. Most waffles need 4–6 minutes depending on batter thickness and machine wattage.
Waffle Maker Design Also Matters
Not all waffle irons are created equal, and design plays a bigger role in sticking than most people realize.
Belgian vs. Classic Waffle Makers
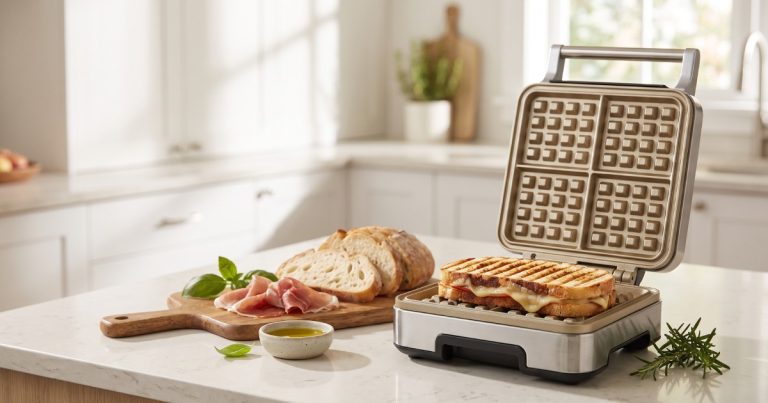
- Belgian waffle makers produce deep pockets (often ¾ to 1 inch) that hold more batter and syrup — but those deep grooves also give batter more surface area to grip onto if the coating or greasing is inadequate.
- Classic/thin waffle makers have shallower grids, which generally release more easily because there’s less surface contact and faster, more even cooking.
If you’re a family that loves deep-pocket Belgian waffles, expect to be slightly more diligent about greasing and preheating than someone using a classic flat-plate model.
Flip vs. Non-Flip Models
Flip waffle makers (where you rotate the unit 180°) use gravity to distribute batter evenly, which actually reduces sticking because you avoid the thick pooling that happens in stationary models. If you’re constantly battling uneven cooking and sticking in the same spots, a rotating model may solve both issues at once.
Plate Material Comparison
| Plate Type | Stick Resistance | Durability | Typical Price Range |
|---|---|---|---|
| Basic non-stick (Teflon-style) | Good when new | Degrades in 1–3 years | $20–$40 |
| Ceramic-coated | Very good | Moderate, chip-prone | $40–$80 |
| Diamond-reinforced non-stick | Excellent | Long-lasting | $60–$120 |
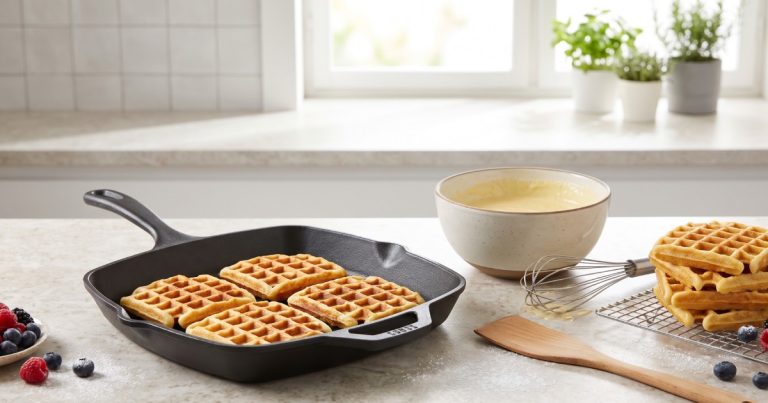
| Cast iron (stovetop) | Poor until seasoned, then excellent | Decades | $30–$60 |
For a family of four making waffles most weekends, I generally recommend a diamond-reinforced or ceramic-coated electric model — the upfront cost pays off in fewer ruined waffles and easier cleanup over time.
How to Properly Grease a Waffle Maker (Even a “Non-Stick” One)
Here’s something many people don’t realize: non-stick doesn’t mean no-stick forever, and even brand-new machines benefit from light greasing.
- Use a neutral oil with a high smoke point — canola, vegetable, or grapeseed oil work best. Avoid butter or cooking spray with lecithin/soy additives (like standard Pam), which can build up into a sticky residue over time.
- Apply with a pastry brush, not a spray can. Sprays create uneven coverage and that residue buildup mentioned above.
- Grease every single time, not just when the machine is new. Even high-end models benefit from a light coat every use.
- Don’t over-grease. Too much oil pools at the edges and causes browning issues, not release issues.
Batter Consistency Checklist
Before you blame the machine, run through this quick checklist:
- ✅ Batter has at least 2–4 tbsp fat per 1.5 cups flour
- ✅ Batter isn’t overly sweetened beyond what your recipe calls for
- ✅ Batter is rested for 5 minutes before cooking (helps hydrate flour and reduces sticking from excess gluten)
- ✅ Machine is fully preheated (green light and an extra 60 seconds)
- ✅ You’re using a brush-applied neutral oil, not spray
- ✅ You’re waiting for steam to slow and the ready signal before opening
If you’ve checked every box and you’re still fighting with sticking, it’s likely time to evaluate your machine’s coating condition.
When It’s Time to Replace Your Waffle Maker
Sticking that’s gotten progressively worse despite proper technique is a strong signal your non-stick coating has broken down. Look for:
- Visible scratches, dull or matte patches on the plates
- Batter residue that won’t fully wipe away even after cleaning
- Uneven browning alongside the sticking
A quality mid-range machine (60−60−100) with reinforced non-stick or ceramic plates will typically outlast a budget model by several years, especially with proper care.
Frequently Asked Questions
Why do my waffles keep sticking to the waffle maker even after greasing?
This usually means either the coating is worn, you’re using a spray with additives that build up residue, or the batter has too little fat and too much sugar for the amount of grease applied.
Why does my waffle maker keep sticking only on one side?
Uneven heating elements or an uneven batter pour are the most common causes. Rotating/flip models help distribute batter more evenly and reduce this issue.
Should I grease a non-stick waffle maker every time?
Yes. Even high-quality non-stick and ceramic coatings benefit from a light layer of oil each use, especially as the machine ages.
Why do my waffles keep sticking to the waffle maker all of a sudden after months of no problems?
Sudden sticking usually points to coating damage from metal utensils or abrasive cleaning, a new batter recipe with more sugar, or inconsistent preheating.
Is cooking spray bad for waffle makers?
Many sprays contain soy lecithin, which can build up into a gummy residue over time that actually worsens sticking. Brushed oil is a better long-term choice.
Do Belgian waffle makers stick more than classic ones?
They can, simply because deep pockets create more surface contact. Proper greasing and full preheating matter more with Belgian-style irons.
Final Takeaways
Persistent sticking is rarely about bad luck — it’s almost always traceable to batter composition, preheating habits, greasing technique, or a coating that’s past its prime. Run through the checklist above before your next batch, and pay attention to whether the issue is recipe-based or machine-based.